
FUN2.1 Getting Started
Optional Quiz – These questions will help you prepare for the final quiz, where the course content will be locked.
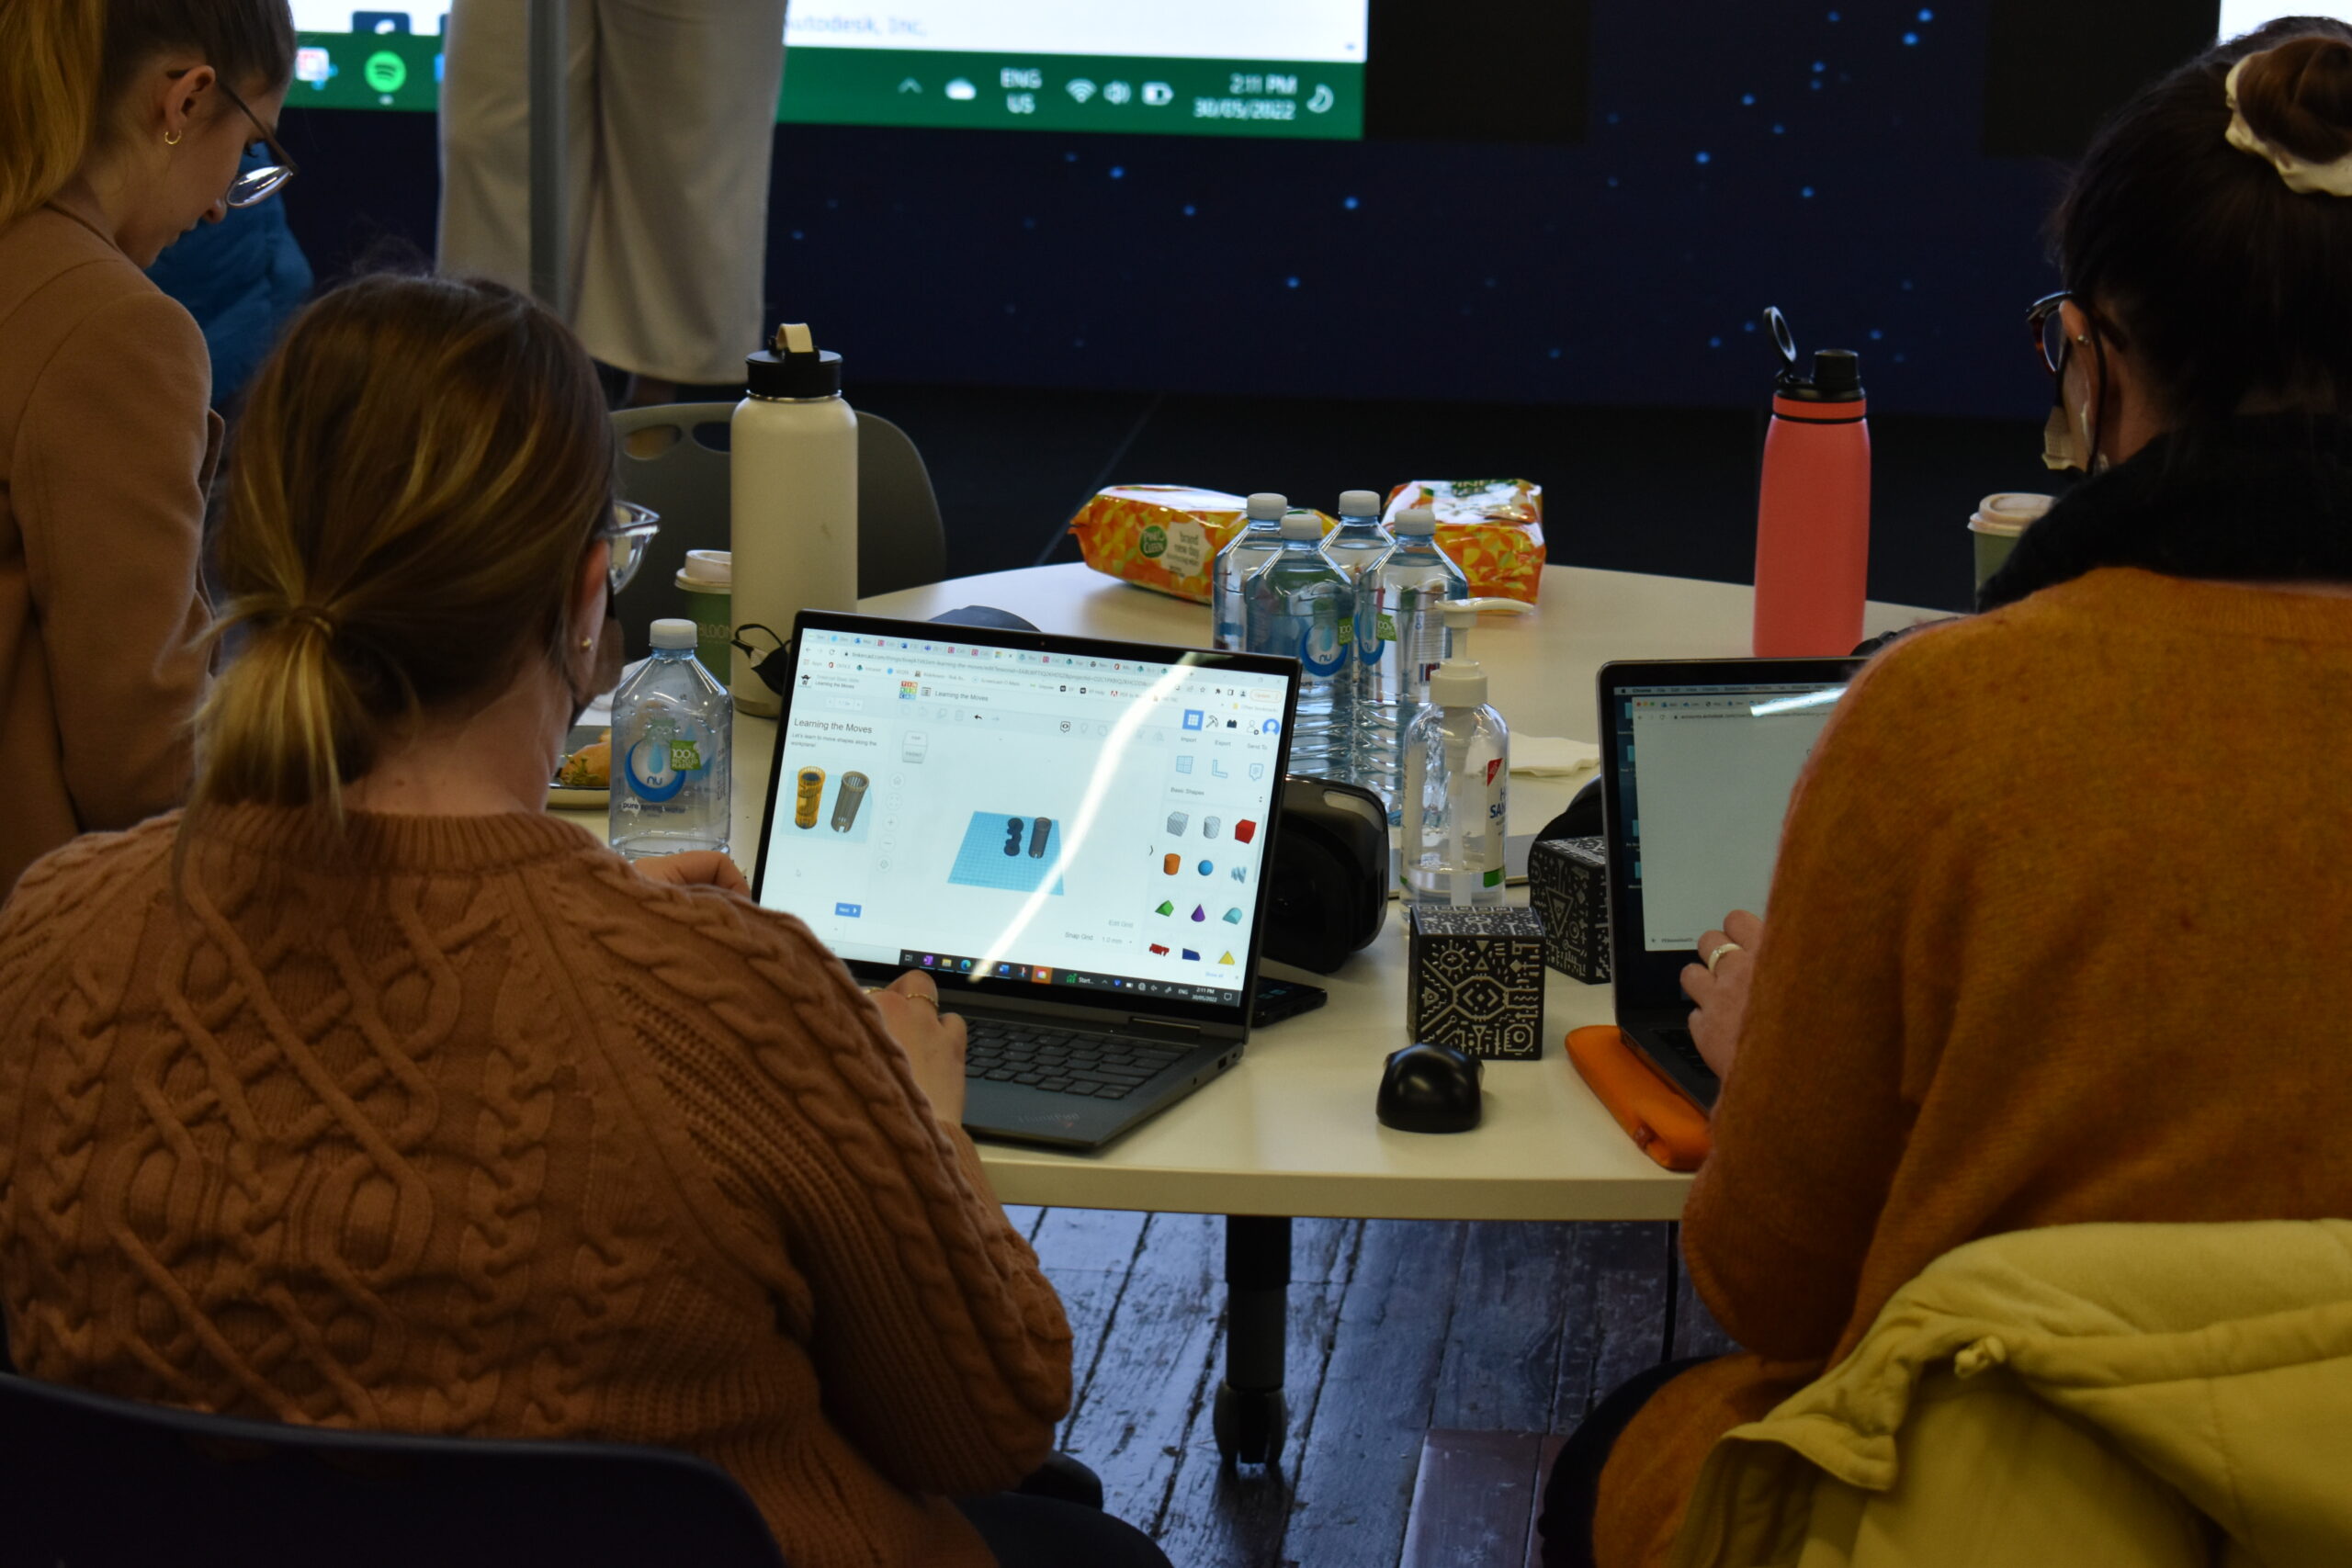
Slide 3 – CoSpaces is currently a leading tool for creating Virtual Reality, VR, or Augmented Reality, AR, content in the classroom. The software is easy to learn, intuitive for teachers and students alike. To get us started, let’s run through how to join CoSpaces as a teacher. Firstly, go to CoSpaces.io/edu and/or download and open the CoSpaces Edu app on your device. Click on Register, select ‘Teacher account’, confirm your age, then scroll down and click on ‘I Agree’. You will then have to go through the process of submitting your name and email and choosing a password. Once you’ve done this, you will need to confirm your email to finish registering an account. Once you’ve completed this, it’s time to select your preferred registration option. You can choose between the Basic version, which is a free but limited version of the app, and the Pro version, which is a paid version with more features. The Basic version will grant you access to CoSpaces’ core functionalities and a limited version of the resource library. Teachers can run one class, one assignment and two CoSpaces in the Basic version, while the Pro version allows for an unlimited use of these functions. A Full technical comparison of the Basic and Pro version is available through CoSpaces Production Pricing List pdf. Also, there are a variety of prices of the Pro version, depending on how many seats are purchased. These seats are the number of people who are able to use the Pro version of CoSpaces. For example, in the Pro 60 version, 60 students or teachers can have access to the Pro version of CoSpaces.
Slide 5 – Firstly, go to Classes, click on ‘Create Class’, and give the class a name. This name can be changed at any time. Then, to create an assignment, click on ‘Create Assignment’. Here you will see a few parameters that can be tweaked. At the top, you can select which class the assignment is allocated to. Below this, you can choose to lock which type of scene the students will use. A ‘3D environment’ is the general 3D world in CoSpaces that may be viewable in VR or AR. A ‘360 Image’ is where a 360-degree image may be used as the background of the world. This image may be imported from the web or from a 360 camera that the student can use. Lumination’s Creation Accessories Bundle includes a 360-degree camera or can be included as an add-on in Lumination’s VR and AR Education Kit. ‘Merge Cube’ is an add-on feature available to Pro users that is great for AR creation using Merge Cubes, which are included in Lumination’s VR and AR Education Kit and Creation Accessories Bundles. The ‘Tour’ feature is a feature that enables virtual 360 viewing of a real life location. Checking this checkbox determines whether students can create a premade CoSpace. You may want to leave this unchecked if you intend for your students to create their own world from scratch. You can give the assignment a name and leave instructions for your students to follow. Finally, you can choose whether the assignment is a individual or group project. Students can join a classroom by using the class code or you can manually add students if their accounts are registered within your organisation. You can also add other teachers within your organisation to the classroom.