
Task Summary
This lesson aims to help students develop disaster resilience through learning about extreme natural risks, hazards, and disasters, and developing responses to these extreme natural events.
Learn MorePreparation
To help prepare for this lesson, please make sure that:
- All IMVR devices (batteries and controllers) and HHVR devices are charged.
- All apps are installed and working on your devices.
- IMVR apps are tested to familiarise yourself with the controls and flow of the experiences.
- All videos are reviewed to make sure that they are appropriate for your site.
- Students have some background in the topic to be covered.
- Students are familiar with VR Safety Rules and Learning Stations guidelines.
- For Part 2, students have some background knowledge and skills in using Tinkercad and/or CoSpaces.
- Students have a copy of the Operation: Safe Planet (Student Digital Notebook) to work on in their own devices.
- If necessary, put students in small groups, with each student working with a partner on the IMVR station. One group of students may use the headset and the other group would be the collaboration partner. They may swap roles during the lesson or during another lesson, if IMVR experiences are spread out over two or more lessons.
Activity Sequence
Part One
- As a class, ask students what they think a Safe Planet should be. Then, ask: “What makes a planet feel unsafe?”.
- Review what students know about Risk vs Hazard vs Disaster.
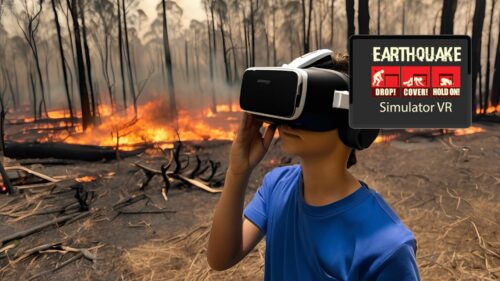
- Tell students that in this lesson, you will focus on extreme natural events as a potential risk or hazard that makes our planet unsafe.
Part Two
- Introduce the three (3) different learning stations (Slide No. 4) to the students and assign small groups to go to specific stations, including the tasks required for each station.
- Introduce the Operation: Safe Planet (Student Digital Notebook) and the different tasks.
- Explain some basic controls on the IMVR experiences if students have not used the experiences before. You may select one or both IMVR apps in the station and allocate approximately 5 to 6 minutes per student to go on one experience. Please note that due to class sizes and schedules, IMVR experiences may need to be spread out across two or more lessons.
- Ask the first group to go to the IMVR Station. Each station should have 2 students each, with one student using the headset and the other student as the collaborative partner.
- Assign a second group on the HHVR Station and use provided links and QR Codes to access the experiences (Slides 7, 8, 9).
- The remaining students may access their digital notebooks on their devices and respond to the suggested tasks.
- Slowly get students to shift across the different Learning Stations as the first group completes the IMVR experience.
- At the end of the lesson, ask students to give some feedback on their immersive learning experiences. What were their highlights? What were their challenges?
Part Three
- Get students to review their experiences from step 2.
- Introduce the Design Thinking Framework (Slide No. 10) and explain that Part 1 enabled them to complete the Empathise, Define, and Ideate part of the process.
- For this part, students will get the chance to work on Prototyping (Slide No. 11) and Testing/Reflecting (Slide No. 12). For Prototyping, students may choose between using Tinkercad for designing an invention or innovation OR using CoSpaces for creating a VR campaign that addresses their selected issue arising from an extreme natural event.
- Students may be encouraged to share their creations with a peer for feedback and reflection.
- Students are asked to record their creations in their digital notebooks.
Conclusion
- Get students to share their creations in small groups or as a class. Note if student responses are based on a risk, hazard, or disaster.
Download the PDF for more information.
More Resources, Lessons Plans & Tutorials
Resource
Natural Disasters
Students will explore how natural disasters like earthquakes, bushfires, droughts, and cyclones impa...
Resource
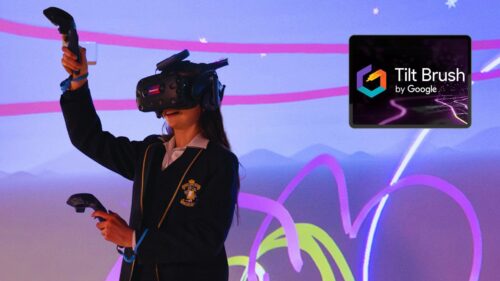
The Power of Colour
This lesson invites students to explore how colours and visual conventions in art can convey differe...
Resource
Inspired Artworks
In this lesson, students will use immersive technology to explore different artistic styles and crea...
Resource
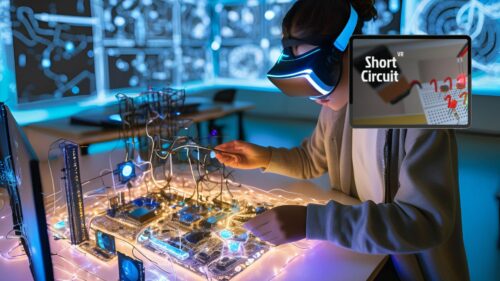
Exploring Circuits
In this lesson, students will explore the principles of energy transfer and transformation through h...