Task Summary
Students will explore various Van Gogh paintings in VR and reflect on the impact of being able to view traditional art in a new way. They will then create new pieces using augmented technology and collaborate on a bigger piece using virtual reality.
Learn MoreExperience and recreate Van Gogh’s art in an immersive manner using virtual reality (VR) and other digital tools.
By the end of this lesson, students will:
- Explore and respond to the experience of learning about Van Gogh’s artwork in a new medium of Virtual Reality (VR);
- Develop and practise digital creation skills using augmented and virtual technologies; and
- Create and manipulate visual conventions by using traditional art as inspiration for a modern interpretation.
Preparation
Assumptions:
1) Students have some background in using VR technologies (both Handheld Virtual Reality [HHVR] and Immersive Virtual Reality [IMVR]), including proper VR Safety practices and how to scan QR codes of VR experiences and view them on the headsets, as well as how to set-up and put away devices. If not, the teacher may want to run a couple of introductory sessions and VR safety briefing ahead of this lesson.
2) Students are familiar with the app, Tilt Brush, and basic concepts of VR painting. If not, the teacher may wish to run a separate
lesson exploring this app using the IMVR/Lumination Learning Lab.
3) Students may or may not have been exposed to Vincent Van Gogh’s art prior to this lesson.
4) Students are familiar with using student digital notebooks. Otherwise, the teacher may need to allocate some time to explain this in class.
Additional Preparations:
1) Make sure that all apps on the IMVR and mobile devices are installed and/or updated.
2) Teachers are recommended to test the apps before running this lesson.
3) Make sure the IMVR and mobile devices are fully charged and operational.
4) Watch the recommended videos before the lesson to make sure they’re appropriate for your site.
5) Download and review the teaching materials included in this lesson.
6) Make a copy of the student digital notebook for distribution to the students.
7) Students will be assigned in small groups, depending on the number of students and technology available. Ideally, each IMVR station would have no more than 3 students at a time – one person on the headset, while two others can be their partners.
8) Assign the small groups with a rotation schedule. Here’s a suggested schedule:
| Rotations | Station 1
(HHVR – Viewing Van Gogh In VR) |
Station 2
(Augmented Digital Creation) |
Station 3
(IMVR – Collaborative Painting in VR) |
Station 4
(Reflections) |
| 1 | Group 1 | Group 2 | Group 3 | Group 4 |
| 2 | Group 2 | Group 3 | Group 4 | Group 1 |
| 3 | Group 3 | Group 4 | Group 1 | Group 2 |
| 4 | Group 4 | Group 1 | Group 2 | Group 3 |
Learning Sequence
1. Introduction
With the Teaching Deck up on the screen, ask students: “What do you know about Vincent Van Gogh?” Get some students to share in the class. After a few responses, share some information about Van Gogh (Slide 2). Then, ask the students “Which famous paintings of Van Gogh are you familiar with?” After getting some responses, share some of Van Gogh’s popular paintings (Slide 3). Continue discussion with some of these questions:
● What were Van Gogh’s favourite subjects to paint? (landscapes, portraits, still life, interiors)
● What style? (post-impressionism) What colours? (yellow, blue, orange) If students have been previously exposed to Van Gogh and his work, the teacher can shorten this introductory part and just do a quick review of prior knowledge.
2. Stations Introduction
Tell students that you will be exploring Van Gogh’s paintings in a new way in this lesson by stepping into his painting using virtual reality (VR). Explain that there will be four different stations (Slide 4) – Station 1 is HHVR, Station 2 is Digital Creation using augmented technology, Station 3 is a collaborative painting station using IMVR and Station 4 is a reflection station where they need to complete their reflections using their student digital notebook. Explain what materials they will need in each station. Get students to launch their digital notebook on their laptop or tablet device to refer to. Do a quick VR safety reminder (Slide 5). Before letting students do the hands-on section of the stations, spend some time explaining the different stations:
3. Station 1 (Slides 6 & 7): To access the VR experiences, students need to scan the QR codes or type the URLs on the slide. The QR codes are also available on Pages 5 & 8 in their notebooks.
4. Station 2 (Slides 8 to 11): If students haven’t used Google Arts & Culture ‘Play’ function before, you can run the step-by-step tutorial in this teaching deck. Explain that they can choose a portrait, interior, or still life as a subject. They will add their digital creations and reflections on Pages 10 & 11 of their notebooks. You can tell students that they can duplicate Page 10 if they decide to do more than one subject matter.
5. Station 3 (Slides 12 & 13): Do a quick review of using Tilt Brush. Tell the student that for this station, they will work in their small groups. Together, they will choose one of Van Gogh’s paintings as inspiration for their VR painting. For inspiration and ideas, the teacher can show the video, ‘Art Attack – Turning Starry Night Into VR using Tilt Brush (3.26)’ (Slide 13). Ask students what sort of digital brushes they can use (Possible answers: digital oil, markers, stars, etc). The group will only create one (1) VR painting together and they need to collaborate and explain their process of creating their work.
For this lesson, each group may be given 5 minutes per station, if the teacher wishes to give everyone a turn in a 60-minute lesson. Otherwise, they may be given 10 to 15 minutes per station and let them know that they will get a turn on the other stations in the next lesson. If the lesson time is longer than 60 minutes, then rotations may go for longer. If students are familiar with Sketchfab and they have available accounts, they can save it to Sketchfab. If not, just make sure to save on the Tilt Brush app.
6. Station 4: (Slide 14) Remind students what they need to do in the digital notebook. Give any additional instructions (e.g., email submissions, upload to Google Classroom or Microsoft Sharepoint, deadline for submission, etc).
7. Show the rotation schedule and explain how it would work (Slide 15). Start rotations once each station has been explained. Depending on how long the lesson is and/or how much time the teacher allocated for each station, there may be just one or
two rotations for this lesson. Remind students to save their work. While the students are working in their stations, the teacher can visit each station to make sure that the students understand the task. Provide additional guidance and feedback when necessary.
8. Debrief/Wrap-Up
Allocate a short debrief or wrap-up session at the end of the lesson to check how many tasks the students managed to complete during the lesson. You can show Slide 16 for a quick class reflection/feedback. If this is going to be part of an assessment, the teacher may wish to show students the assessment rubric. Remind students to put away the devices properly for the next class.
PART 2
9. Introduction / Review
Do a quick review from the previous lesson, asking students what they remember about each station and what they still need to complete. Get students back into their groups.
10. Stations Continuation
Show Slide 15 for the Stations Schedule. Ask students to return to their assigned stations and continue the work that they need to complete. The teacher may continue to move around the different stations for additional guidance and feedback to each group.
11. Conclusion
Get students to complete the tasks required at the end of the lesson. Provide some time for viewing each other’s work and a short class wrap-up discussion on what it’s like to create using VR tools compared to using traditional media. What are the similarities and differences? What do they like more? Why? What would they do differently?
If there are opportunities to ‘exhibit’ student work, they may be able to be given the chance to keep building on their creation.
For more information and links to resources, download the PDF.
More Resources, Lessons Plans & Tutorials
Resource
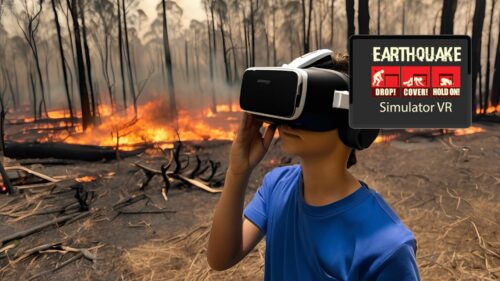
Natural Disasters
Students will explore how natural disasters like earthquakes, bushfires, droughts, and cyclones impa...
Resource
The Power of Colour
This lesson invites students to explore how colours and visual conventions in art can convey differe...
Resource
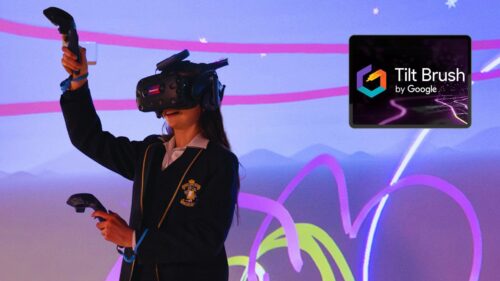
Inspired Artworks
In this lesson, students will use immersive technology to explore different artistic styles and crea...
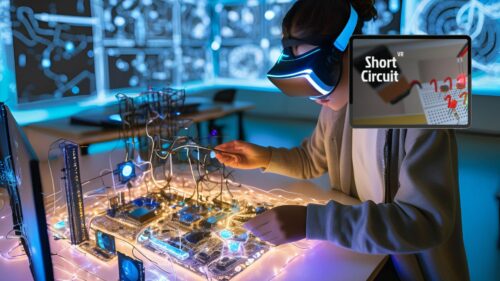
Resource
Exploring Circuits
In this lesson, students will explore the principles of energy transfer and transformation through h...